


My interest in Developer Operations (DevOps) was sparked by frustration with deploying applications that worked smoothly on my PC but failed to run on Heroku 😪. The excitement of solving that problem with Docker led me to pursue a career in DevOps. Since then, I have worked on amazing projects, one of which is deploying a bitcoin simple payment verification (SPV) node on AWS EC2.
In this article, I will explain how to set up the Bitcoin SPV Node. But first, we need to understand what Bitcoin, a simple payment verification, and a node are
- Bitcoin: Unlike traditional currencies, Bitcoin is a virtual currency that can be sent and received from anywhere around the world, on a distributed network, without being monitored or controlled by governments or banks.
Simple Verification Payment (SPV): This lets clients (apps, web...) verify that a transaction is on the bitcoin network without downloading the entire block. Apps like Binance, for example, will be able to perform transactions faster. more details on SPV
Node: in the blockchain context, is a computer that runs the bitcoin network which facilitates transactions.
It will take two stages for us to accomplish this,
- Set up our AWS EC2 (Node in Blockchain lingo)
- Install and run Bitcoin SPV Node.
FIRST STEP: SET UP OUR AWS EC2 INSTANCE
- To create an account, visit aws.amazon.com or log in if you already have one
- Go to EC2, then instance dashboard
- Launch a new instance Click "Launch Instance", enter the name of your instance, choose Ubuntu as your Operating System (OS), and create a key pair (so we can SSH into the instance). Leave all other settings as default, launch the instance
Note: your dashboard might be different from mine, to enable the same dashboard, go to the left top hamburger menu, to enable the new dashboard
- Our AWS EC2 is now up and running
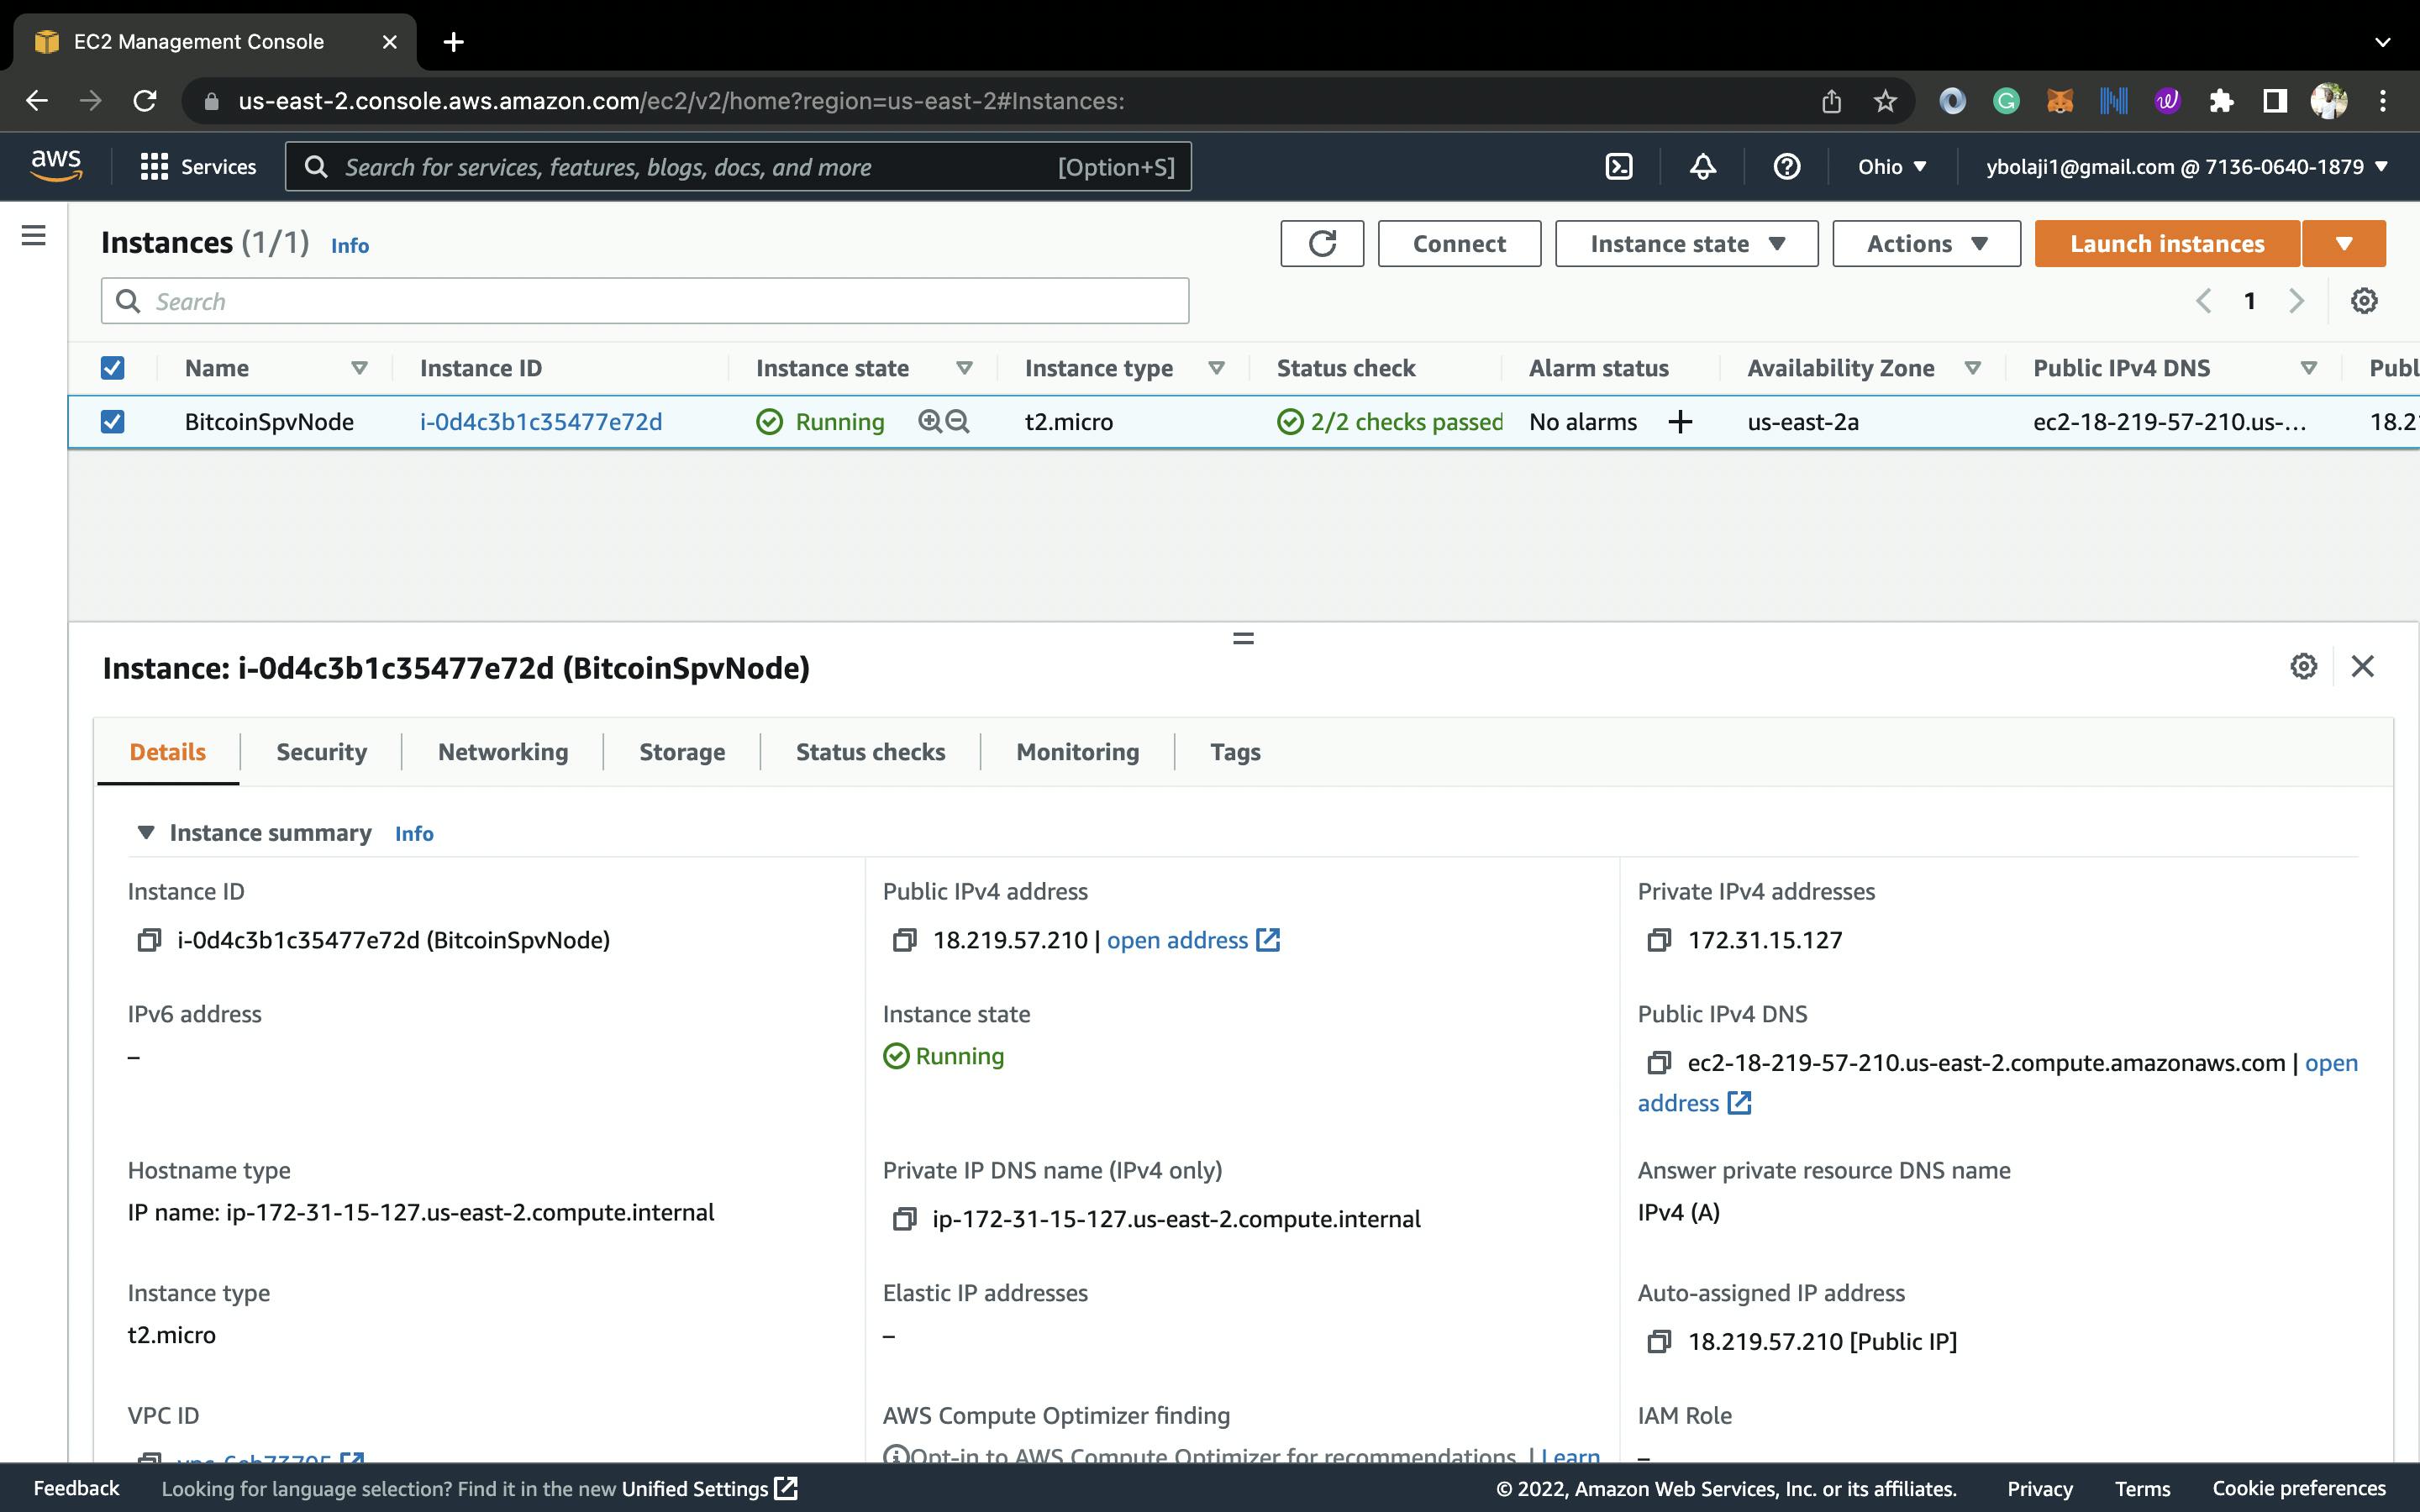
- Next, we will use the key pair we created earlier to SSH into our instance
Launch your terminal(any terminal of your choice). For this example, I'll use the iterm terminal. Navigate to the directory where you saved your keypair. I have mine in my downloads folder.
Paste the following
chmod 400 bitcoinspv.pem
Change "bitcoinspv.pem" with the name of your keypair file, The following command protects our keypair from accidentally overwriting, by giving it read permission and removing all other permissions.
ssh -i "bitcoinspv.pem" ubuntu@ec2-18-219-57-210.us-east-2.compute.amazonaws.com
Here we use our keypair, which contains our ssh key, to log into the instance. "Ubuntu" here refers to the operating system we host on our instance (if you use another OS, e.g Amazon Linux, it would be ec2-user@ec2.....). The "ec2-18-219-57-210.us-east-2.compute.amazona.." would be the Public DNS of your instance.
sudo apt update
sudo apt install build-essential
We install all the necessary operating system dependencies here as well as our developer tools, which include all the tools necessary to compile software.

Now that we have successfully set up the AWS EC2 instance (Node), let's proceed to the next step: installing Bitcoin SPV (Simple Payments Verification) software.
SECOND STEP: INSTALLING AND RUNNING BITCOIN SPV NODE
For the Bitcoin SPV software, we'll be using the bcoin library
Bcoin is an advanced full-node implementation built with JavaScript/C/C++/Node.js. It is easier to use, faster to learn, and more well-documented than competing implementations.
We can use Bcoin as a simple verification node in addition to its full node function, and the documentation is quite comprehensive, but it's confusing, so let's break it down.
Using Bcoin require us to create a .bcoin folder that will contain two configuration files(bcoin.conf & wallet.conf ) located in our root directory, this two file contain configurations for running the bitcoin node and bitcoin wallet:
- We'll use this configuration for
bcoin.confRead more on the configurations terms
//Network (main,testnet, regtest)
network: testnet

//Your unique key
api-key: 121b240217c8910ecb1eb2422b403b8f7c77

// Data directory
prefix: ~/.bcoin

// Enable flags
use-workers: true

log-file: true
log-level: info
max-files: 8192
http-host: 0.0.0.0
- We'll use this configuration for
wallet.conf
network: testnet
prefix: ~/.bcoin

// Security settings
api-key: cf4eb598f7ecc3e23ec809be4a5a71ccdb6f0e29dd65 //different from the node api-key
wallet-auth: true

//unique admin-key
admin-key: acd7830eace6263e23ec80eb598f

http-host: 0.0.0.0
We will now create the .bcoin folder and the files on AWS EC2
// Goto the instance root directory
$ cd ~

// Create the folder .bcoin and move into it
$ mkdir .bcoin  && cd .bcoin

// Create the wallet and the bcoin config files
$ touch bcoin.conf && touch wallet.conf

//Copy and paste the earlier configuration files into each of the files

Paste the bcoin configuration in the bcoin.conf

Paste the wallet configuration in the wallet.conf
Next, we will install and run the bcoin library itself, which will use the configuration file we created, to install the bcoin library;
// Install Nodejs through NVM
$ curl -o- https://raw.githubusercontent.com/nvm-sh/nvm/v0.38.0/install.sh | bash
$ nvm -v
$ nvm install 16.15.0

// clone the bcoin repo and rebuild the dependencies (in your home directory)
$ git clone https://github.com/bcoin-org/bcoin
$ cd bcoin
$ npm rebuild

// Expose the bcoin as global variable (to run the bcoin command from any directory)
$ export PATH=$PATH:/home/ubuntu/bcoin/bin
Finally, we'll spin up the bcoin with this command
#This command starts the bitcoin SPV node
$ bcoin --spv
#Use this command to run it as a background process
$ nohup bcoin --spv &
#Find the background process (you'd get the bcoin running as a process and its ID)
$ ps aux | grep bcoin
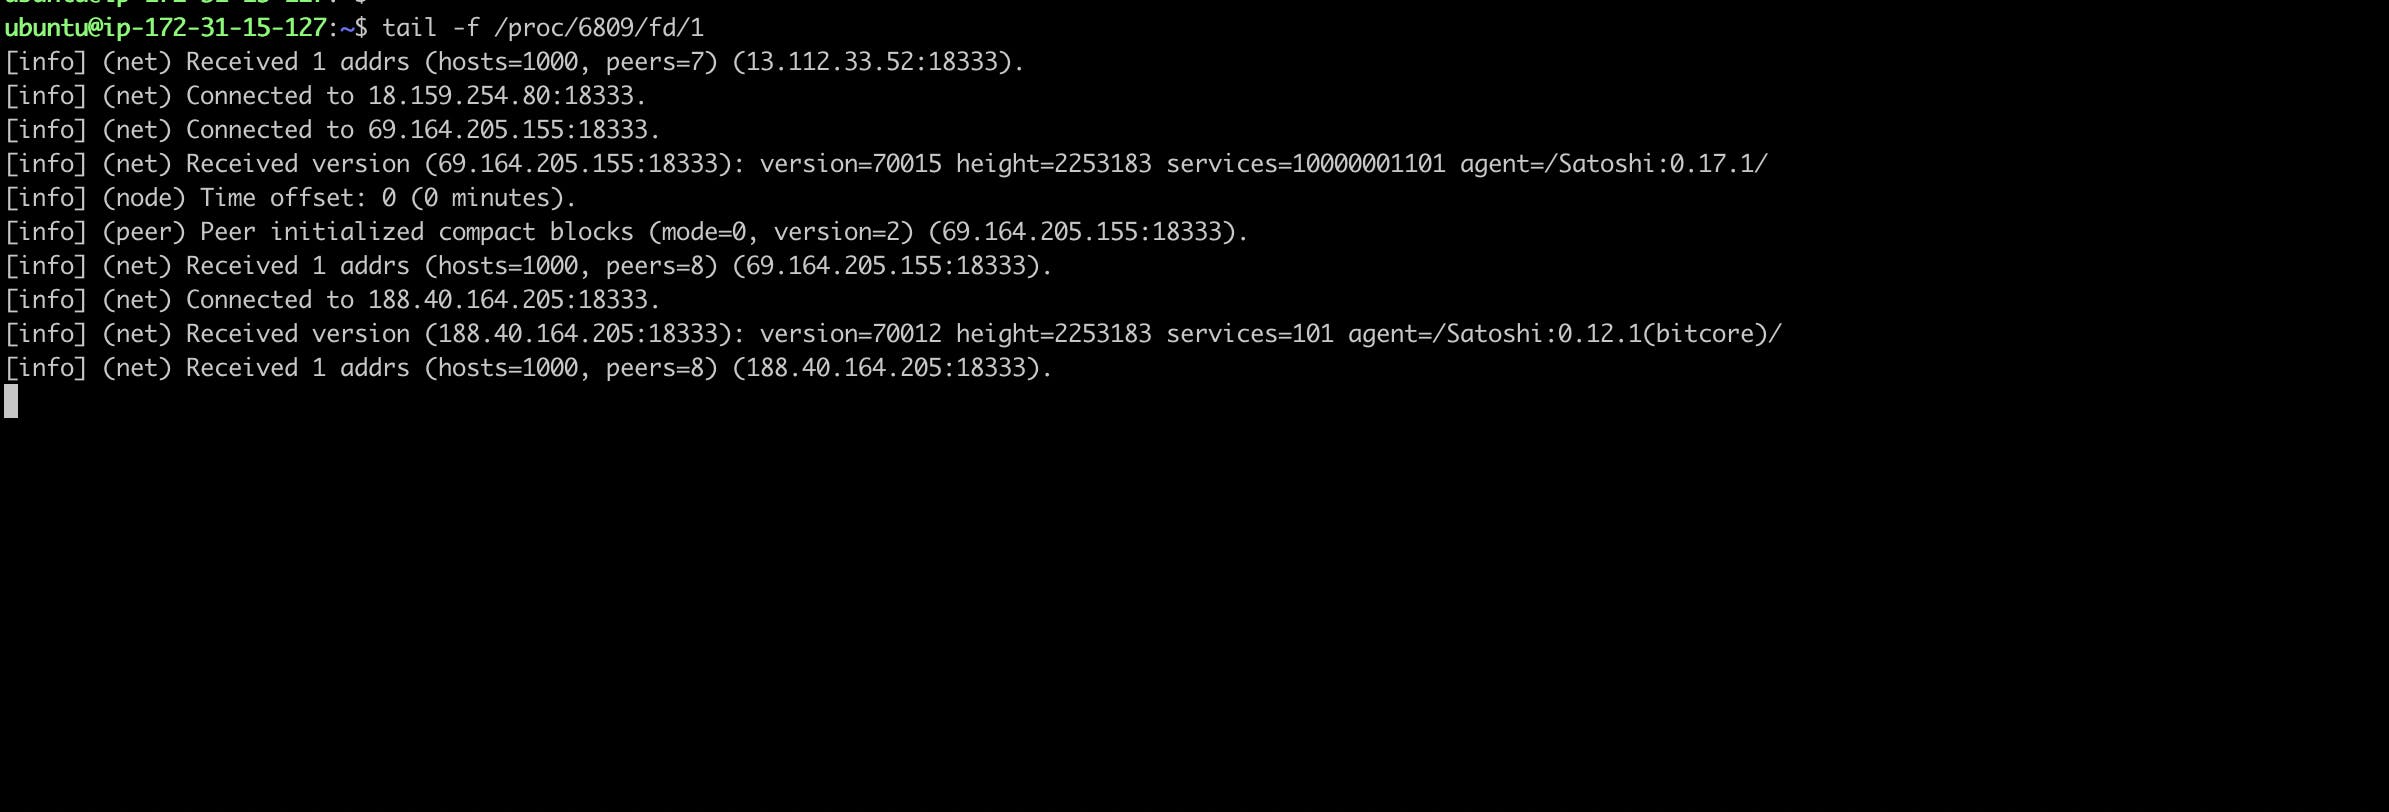
#Use this command to get the logs
$ tail -f /proc/<processid>/fd/1
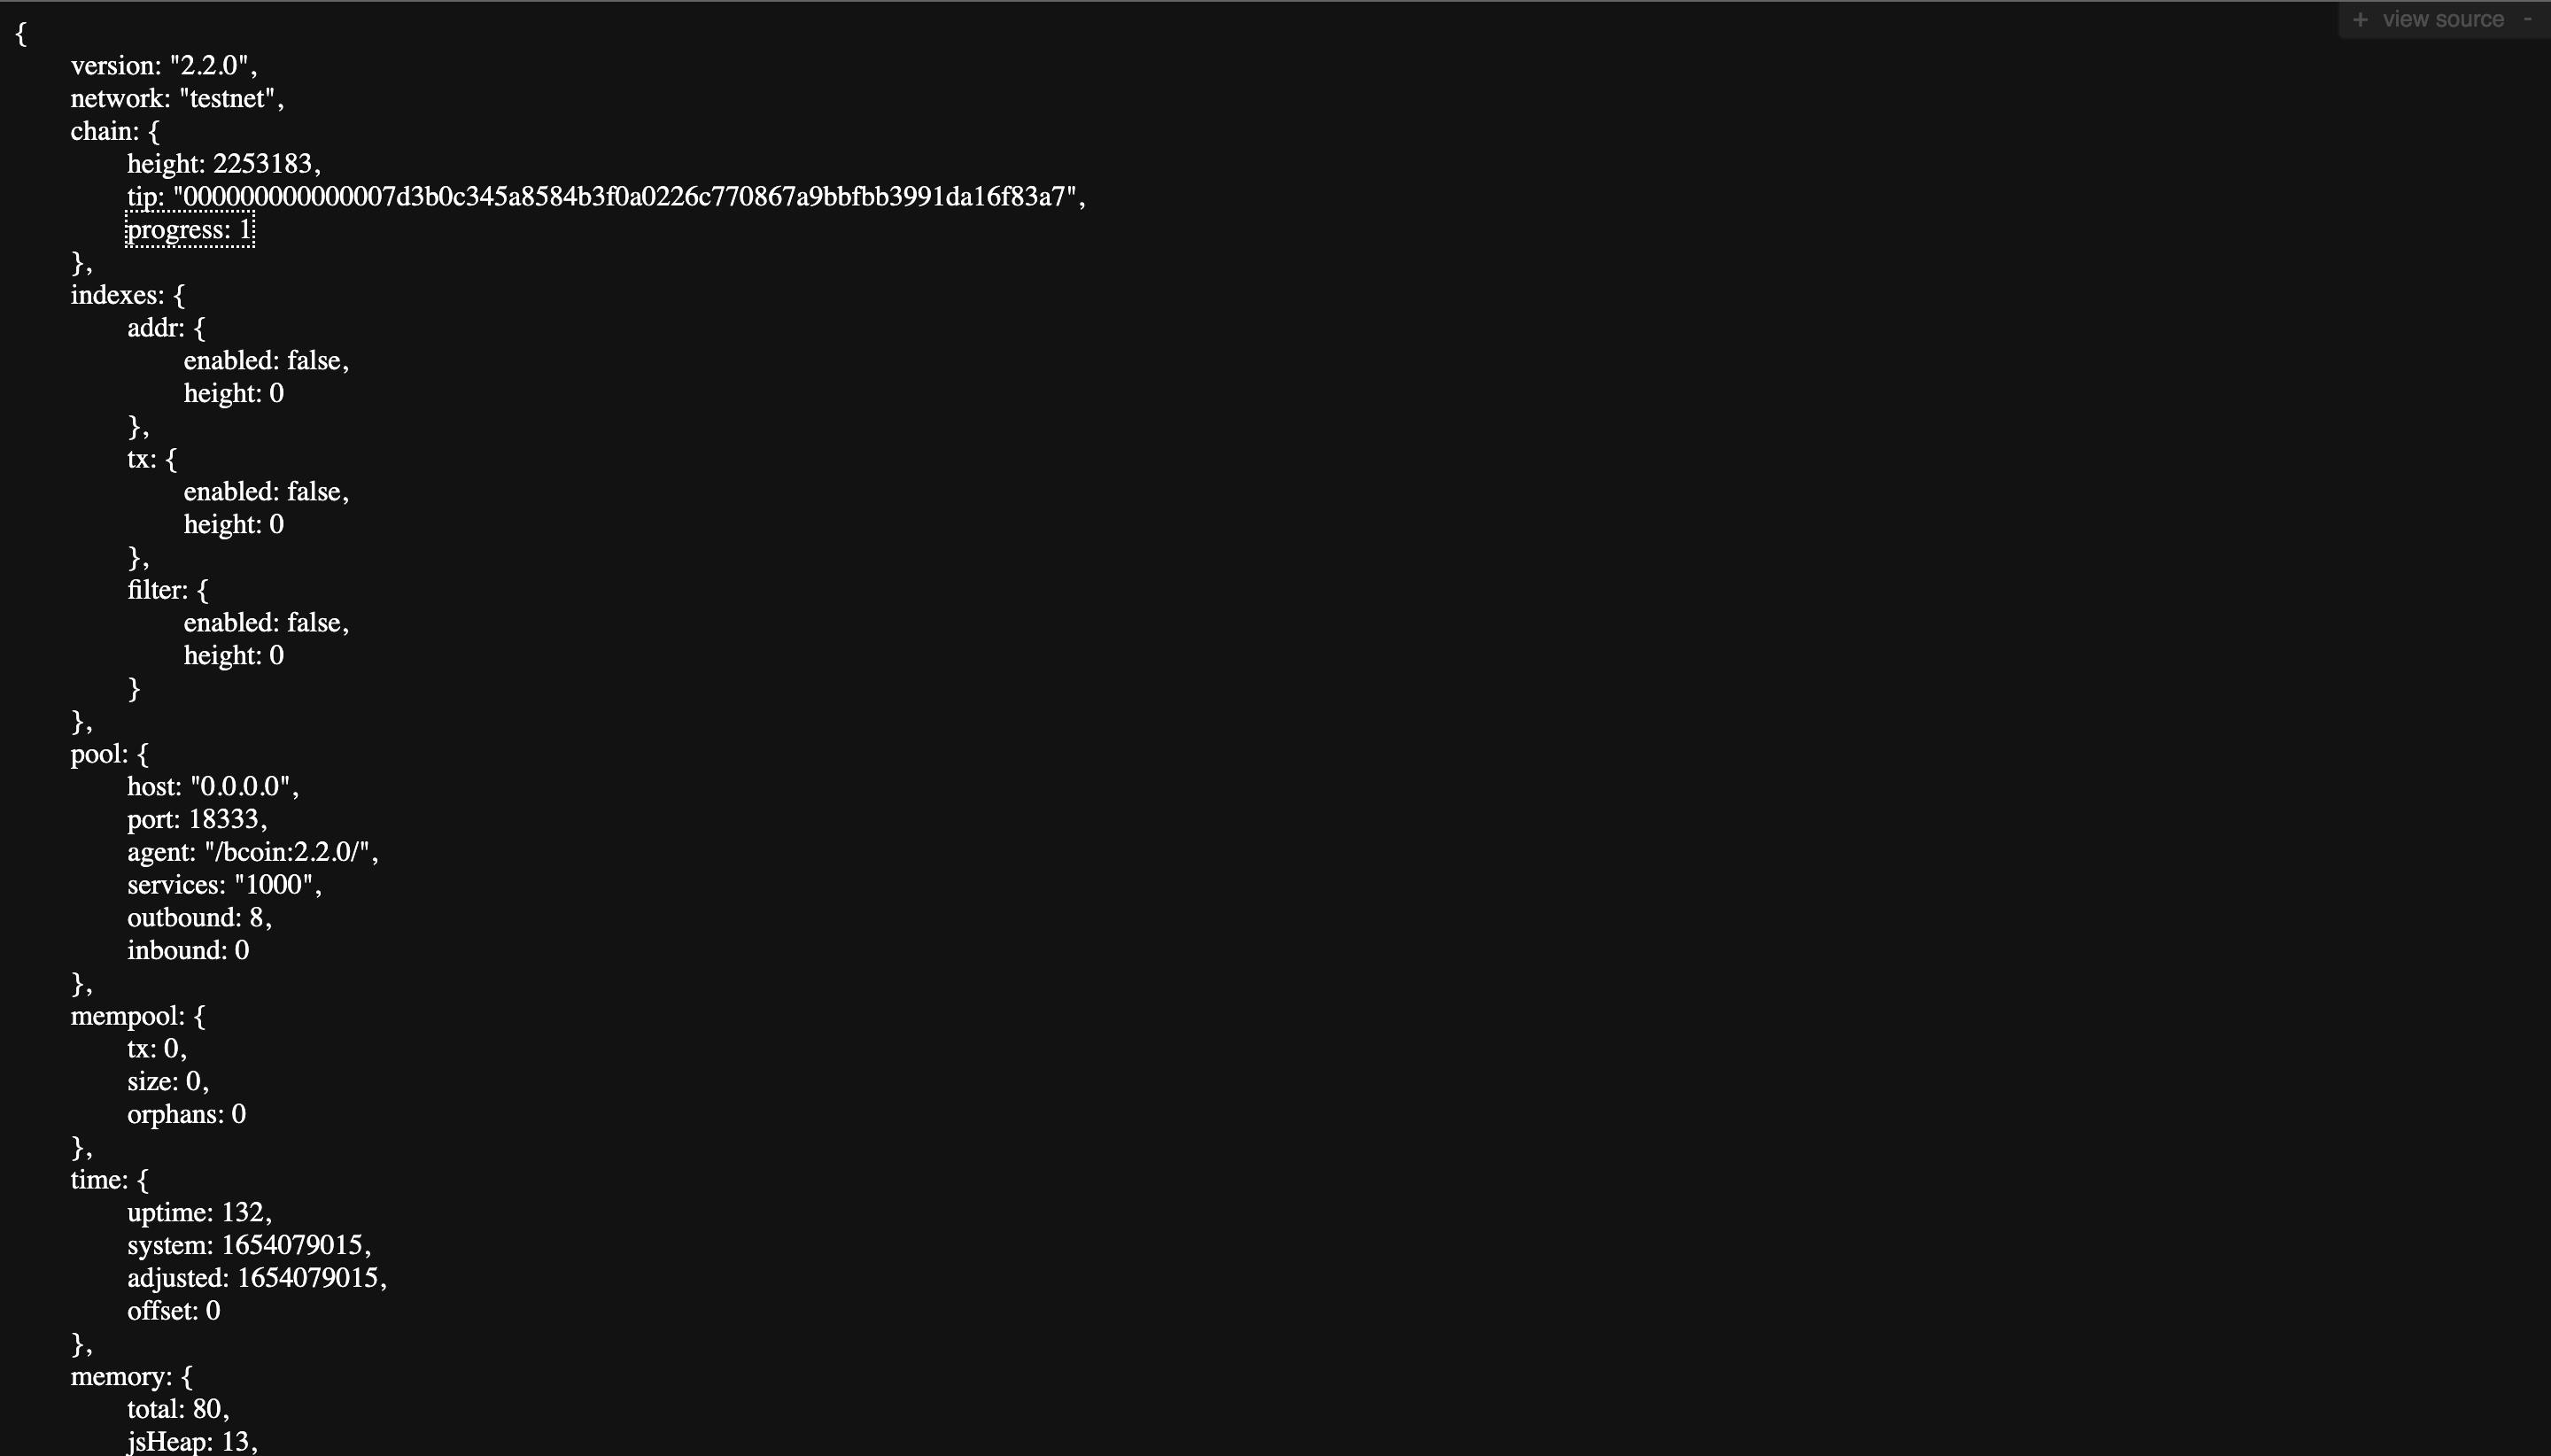
After all this, you'd see a series of words that scrolled across your screen, yes, it's running, but it might take a few minutes to download the block header. Please be patient.
🥳 As a final step, our Bitcoin network is running in SPV mode on AWS EC2. We need to make it possible for developers to make HTTP calls to create accounts, wallets, and transactions from outside the instance. To do this we'll be opening two-port outside of our instance, one for the bitcoin node and the second for the wallet node
- Go to your instance dashboard.
- Click on the instance see created earlier.
- Move to the Security tab
- Find the Security groups section, and click on the security group id(this would take you to the security group page)
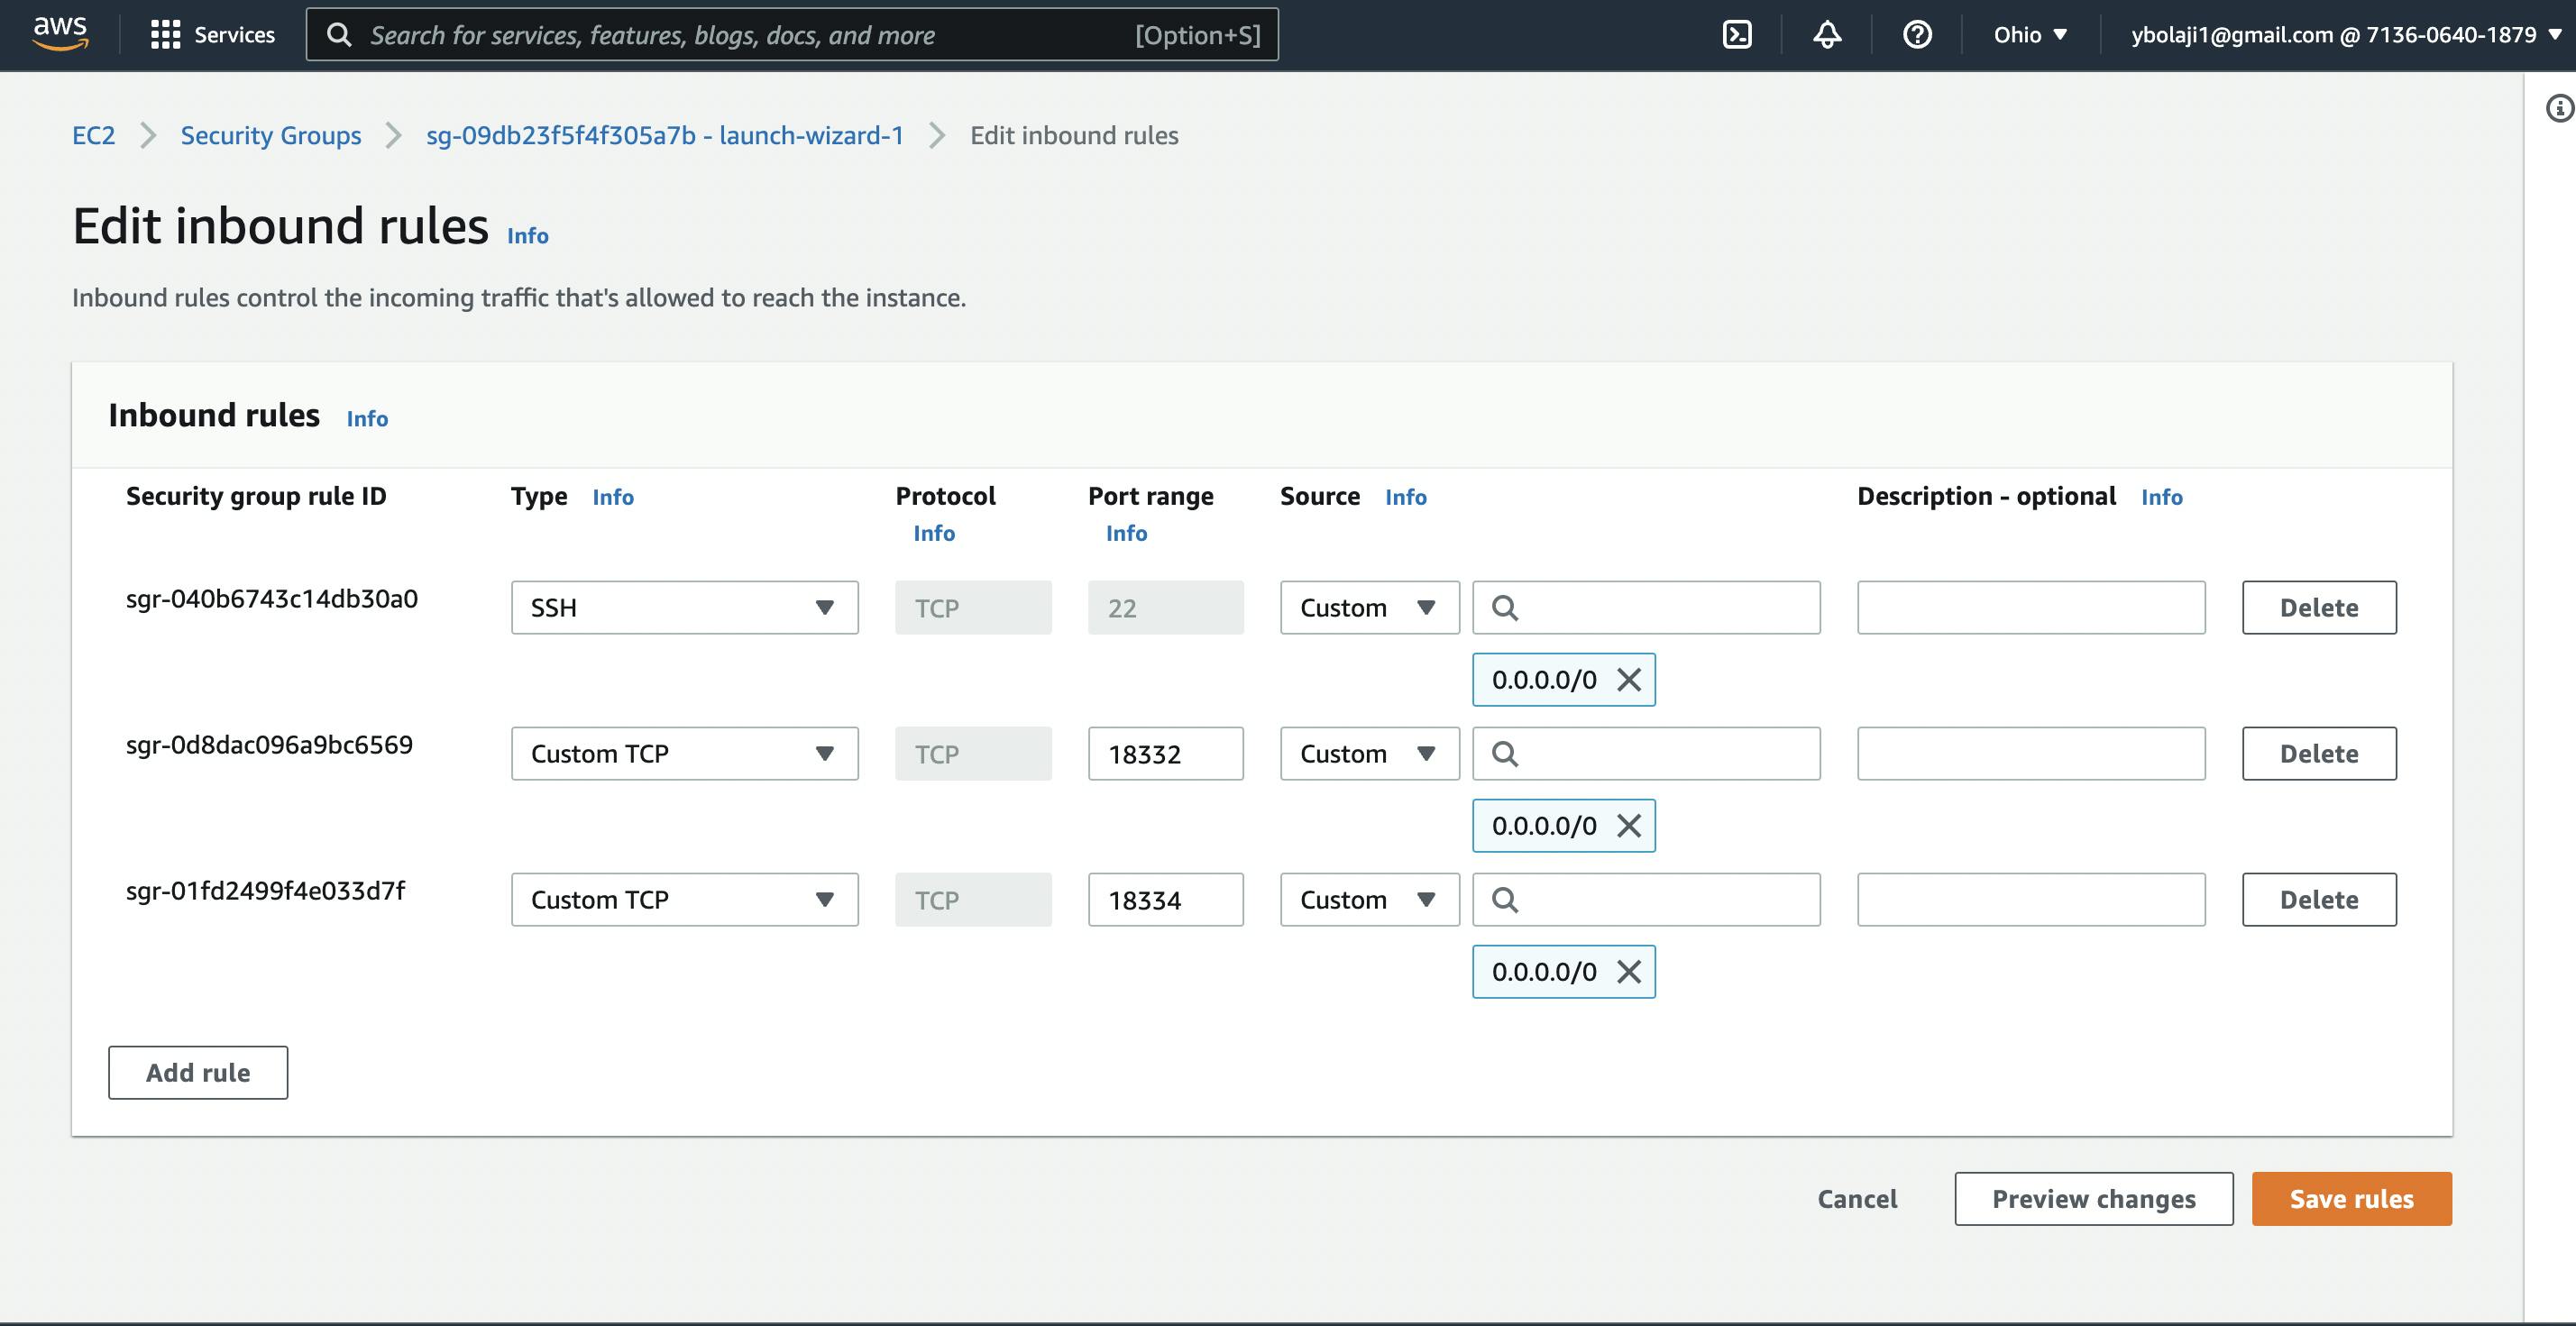
- In the Inbound Rules tab, click on the edit Inbound rules
- Now add these new rules
It is important to note that this port varies depending on the network. We are currently on the testnet, hence the port, check the bcoin documentation for other network ports.
To interact with the node using the bcoin documentation, we'll be using curl to make requests to the Bcoin SPV node
## For Node
# Lets authenticate
http://x:(Node-Api-key)@(instance-public-ip):(node-port)

# Mine
http://x:121b240217c8910ecb1eb2422b403b8f7c77@18.118.122.176:18332/
Voila, we can now interact with our bitcoin SPV node using the bcoin library and its documentation.
Final Thought
While configuring the Bcion library, you'll notice we've got two configurations (node and wallet); bcoin --spvspins up two nodes, one for the node activity and one for the wallet activity. In building your application, you'll interact with them differently, this article is about running your Bitcoin Simple Verification Node, in the next article I'll explain how to build your bitcoin application. For information on how to interact with the bcoin and wallet nodes, please consult this documentation.
Check out how to interact with the Bitcoin SPV Node, hashnode.com/post/interacting-with-a-bitcoi..